build diary
<< | show individual entries | >>June 14, 2004: 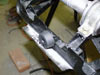 The bottom part of the original radiator bracket is all that remains.
The rubber bumper helps hold the rad in place nicely.
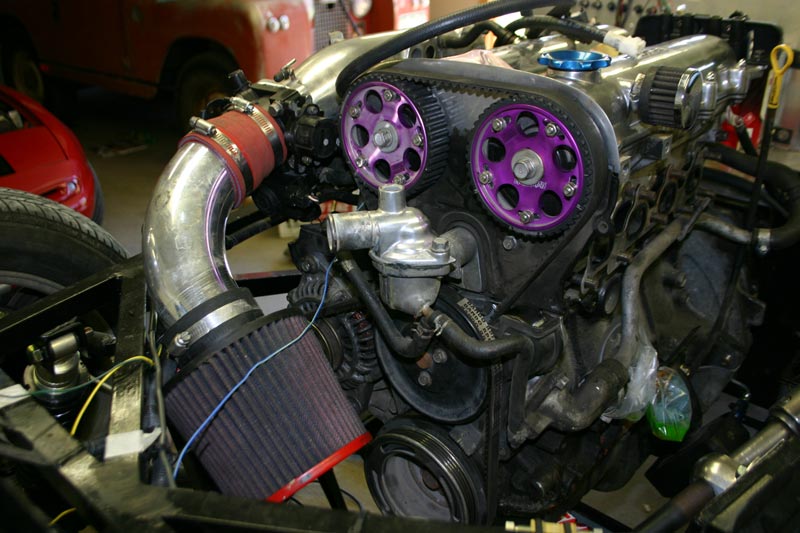
entry 366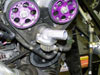 The radiator inlet is on the opposite side from the Miata.
If you take a 1.6 thermostat "neck" and put the housing from a 1.8 on it, it turns the direction of the outlet 90 degrees. Perfect! It also gets rid of a fitting for a temperature sensor I no longer need. You can see the original in this picture.
entry 367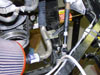 The lower radiator hose is pretty long, so I'm using this pipe from the Miata to join two sections.
entry 368 Harnesses are in!
entry 369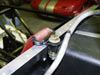 The attachment point for the shoulder harnesses.
This was taken from the Miata. It looks pretty good.
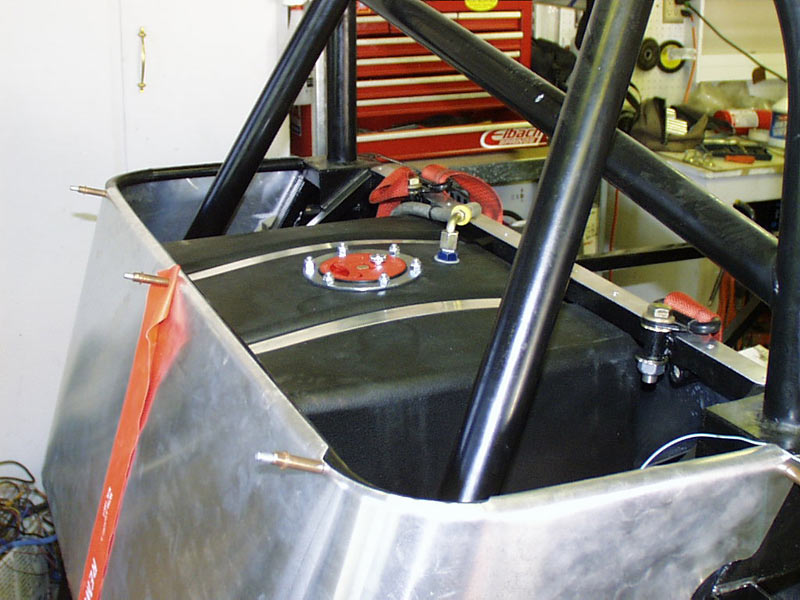
entry 370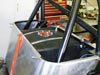 This is a little disconcerting - my fuel cell is inflating from the heat!
I'm going to call Jaz about this - there's a pressure relief valve on the cap but it's not relieving a whole lot of pressure. I can just imagine what this will be like in the hot Colorado sun.
entry 371 Fitting the scuttle required a little trimming to the aluminum firewall.
entry 372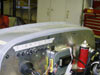 The scuttle temporarily bolted into place.
entry 373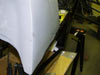 The fibreglass scuttle fits the frame perfectly once it's been trimmed to fit around the steering column support.
Better than any of the aluminum has fit so far - good thing, as it's harder to tweak! All of the glass parts appear to have the same high level of fit.
entry 374
June 15, 2004:
I phoned Jaz about my inflating fuel tank.
Turns out the vented fuel cap isn't vented enough to actually prevent this from happening. I checked some photos of the CMC "Mitty" build and they put the fuel return line into one of the feeds on the sump, then just left the AN-6 fitting on top of the gas tank open with a small plastic cap. Hmm, not my preferred solution. After pricing out the cost of a metal check valve to use as a vent, I decided to check the Miata parts diagrams. Not only does the Miata fuel tank have a check valve, it's got a rollover valve to keep it from leaking if the car goes upside down! The parts will easily adapt to my fuel cell. It's a perfect solution.
I've also tried test-fitting some of the side body panels. I won't be putting them on the car until I'm pretty much done. I don't want to damage them! But boy, does the car ever look cool...
entry 375
 The final lower coolant hoses.
entry 376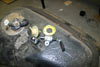 The solution to my inflating tank - a check valve and roll-over valve from the original Miata tank.
entry 377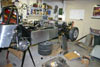 Test fit of a side body panel.
The fit is perfect.
entry 378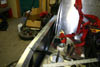 The side panels wrap around the upper frame rail for a cleaner look.
entry 379
June 16, 2004:
It's like static electricity building up in the air.
I can feel the car becoming more "real" as parts come together for good. The most common comment from my visitors is "Wow, it looks like a real car now!". I keep test fitting body panels and I really want to put some on!
The vent has been installed on the fuel cell. I'm extremely happy with the results - it looks like it was meant to be there. My co-worker Brian and I made a backing plate then discovered that the thick plastic of the tank meant screws were the best attachement solution. That's what we're hoping anyhow. I'll find out today if the tank still grows in the heat. Brian's a good fabricator and we spent some time discussing how to mount the radiator and the electric fan. I think it's going to turn out well.
I rescued my half-finished driveshaft from the fabricator today. They were supposed to call me when the parts arrived so I could double-check my measurements. They didn't, so instead I checked to see if the half-completed driveshaft was going to fit. The answer is yes - but it's going to be pretty much impossible to install without pulling the diff. Again I think I'm a victim of using 1.8 parts in a kit designed around 1.6 ones - the longer diff with a larger flange is causing problems. We'll see when the final product is done today. Oh yes, my measurements were dead on.
entry 380
 Drilling into the fuel cell to install a vent.
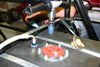
entry 381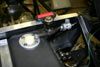 The vent in place along with the check valve.
Bad picture, great looking installation.
entry 382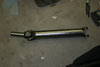 It's so cute! The partially-completed driveshaft.
entry 383
June 17, 2004:
The driveshaft is finished and in the car.
Talk about a tight fit! I had to disconnect the parking brake cables but that's all - that was a relief. If the shaft was even a tiny bit larger in any direction I would have been out of luck, too. But it fits! Once it was in, I fired up the engine and got a feel for the clutch travel needed. Big moment - I have a complete drivetrain! The rear wheels happily spun as I let the clutch out with the car in gear. Vroom vroom!
entry 384
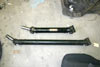 The finished driveshaft, compared with a stock 1.8 Miata part.
My new one is surprisingly heavy but it's sure not going to break! Check out the size of those yokes.
entry 385 1.6 and 1.8 Miatas use different size bolts for the flange on the diff.
Make sure you've got the correct ones. Buy the (unusual) bolt from Mazda but get the washer and nut somewhere else - they're expensive!
entry 386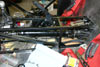 The driveshaft in place.
entry 387
<< | show individual entries | >>